Tommy Gun   CrossBreed Holsters   Xssights   Tommy Gun Shop
Results 1 to 4 of 4

Thread: PM9 maintenance schedule

  1. #1
    Join Date
    Apr 2018
    Posts
    16

    Default PM9 maintenance schedule

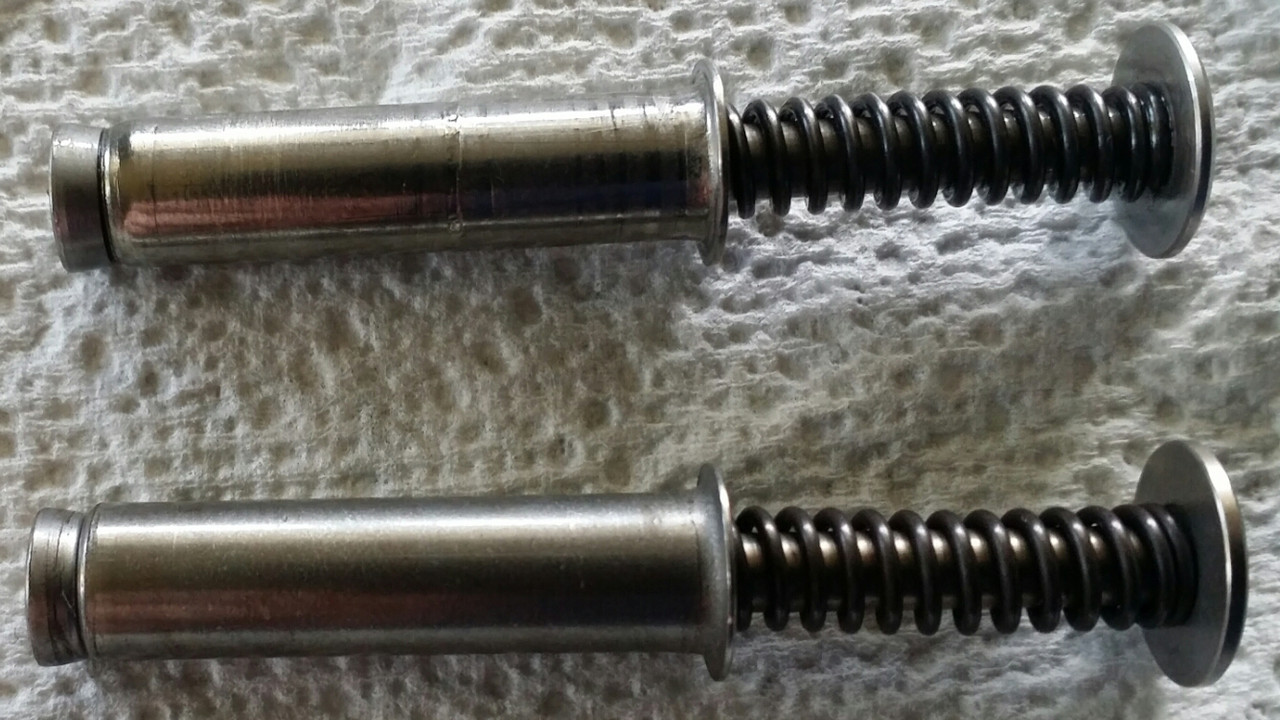
    I've put around 2,000 rounds through a PM9 that I purchased used. It is running 100%, but I'm starting to see some scratches/gouges on the recoil spring guide rod so I am about to order a replacement. Is there anything else that should be done at the same time?

  2. #2
    Join Date
    Sep 2009
    Location
    Wet & Wild Pacific NW
    Posts
    32,547

    Default

    Not really. Those scratches most likely won't hurt anything really. Long as its running a 100% your good to go. Never hurts to have a spare.
    In Memory of Paul "Dietrich" Stines.
    Dad: Say something nice to your cousin Shirley
    Dietrich: For a fat girl you sure don't sweat much.
    Cue sound of Head slap.

    RIP Muggsy & TMan

    "If you are a warrior legally authorized to carry a weapon and you step outside without that weapon, then you become a sheep, pretending that JOCKO will not come today."

  3. #3
    Join Date
    Apr 2018
    Posts
    16

    Default

    I went ahead and replaced the entire recoil spring assembly with a new one from Kahr and was impressed by the difference in stiffness. The uncaptured spring was considerably longer and much stiffer, but has the same # of coils (13). I was slightly confused by the 3 different versions (type 1, type 2, and type 3) so I called Kahr and gave them my serial # and they were kind enough to look it up and tell me when it was made (2013) and that I needed a type 3. I wouldn't have imagined the original spring sagging that much in 5 years...

    I read some old threads here where people said just to get the new uncaptured spring instead of the whole assembly. That may work fine, but my captured spring was much, much weaker than the new one too. While they are a bear to compress with my delicate little fingers (using thumb & middle finger to pinch the assembly while pressing the plunger with your index finger), with effort I could fully compress the old spring. I can barely budge the new spring.

    Here is a photo of old (top) vs new (bottom):

  4. #4
    Join Date
    Apr 2018
    Posts
    16

    Default

    Here is a picture of the scratches/gouges in the old assembly. I have been using frog lube on this part in the past, but I guess it isn't quite up to the task:

Posting Permissions

  • You may not post new threads
  • You may not post replies
  • You may not post attachments
  • You may not edit your posts
  •  
Kahr Shop   Magnum Research new   Mitch Rosen   Crimsontrace